How to install Joomla Quickstart Package
Understanding the Joomla Quickstart Package
The Quickstart allows you to replicate the demo package to your server. It means, after installing the Joomla 4 demo Quickstart, you will have a site exactly the same as the demo site. Including components, demo content, Joomlead particles configuration, and site configuration.
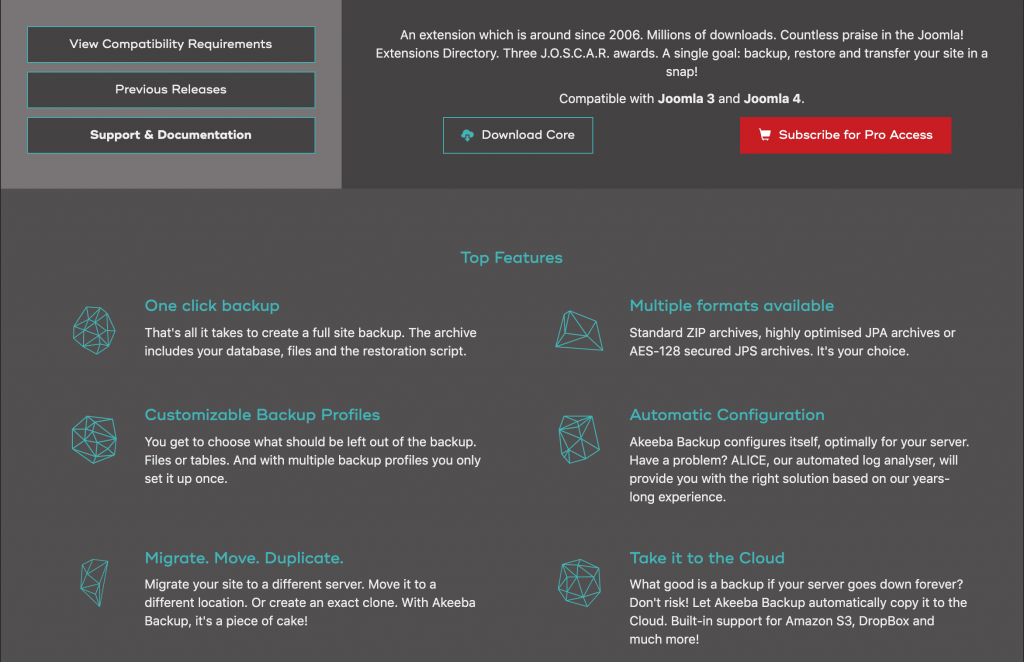
We are using Akeeba Backup component to backup and restore the Joomla quickstart package. Akeeba Backup is a complete site backup solution for your Joomla!™ powered website. It will take a copy of your entire site – files and database data – and put it in a backup archive file. The restoration uses a web installer script. The installer script is included in the backup archive itself.
This tutorial contains details about:
- Install Joomla demo package (Quickstart) to live hosting (Siteground, Hostgator, DigitalOcean, Linode)
- Install the Quickstart to localhost (Local server)
- Quick video tour
First, Go to Your account page, click “View Details and Downloads” link and download the demo quickstart package (NAME_joomla_quickstart_j4.zip).

Installing Quickstart Package – Live hosting
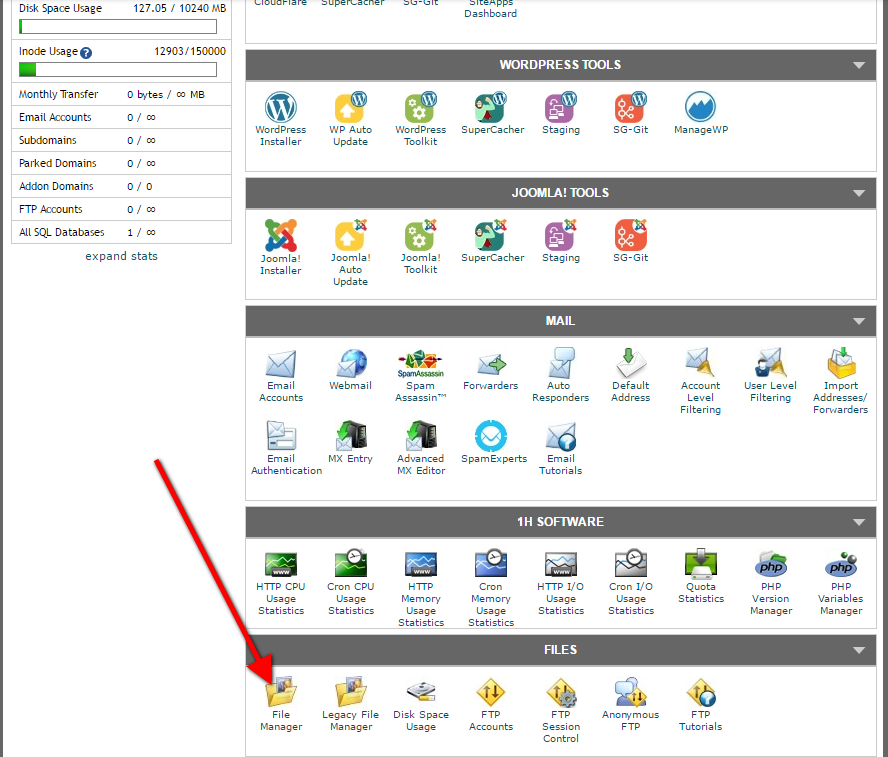
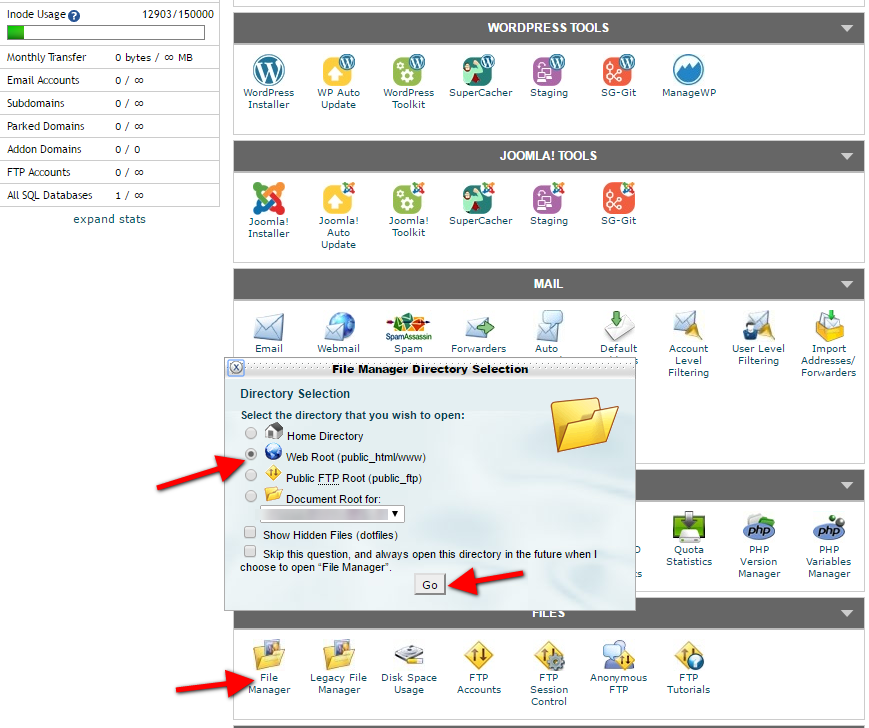
There are two ways of accessing files when working with Joomla: either directly via your web server (example Cpanel control) or through an FTP client.
In this tutorial, we are using Siteground Linux Hosting, however, you can install the package to any hosting like CloudAccess, Rochen Hosting, Hostgator, or cloud server like DigitalOcean, Linode.
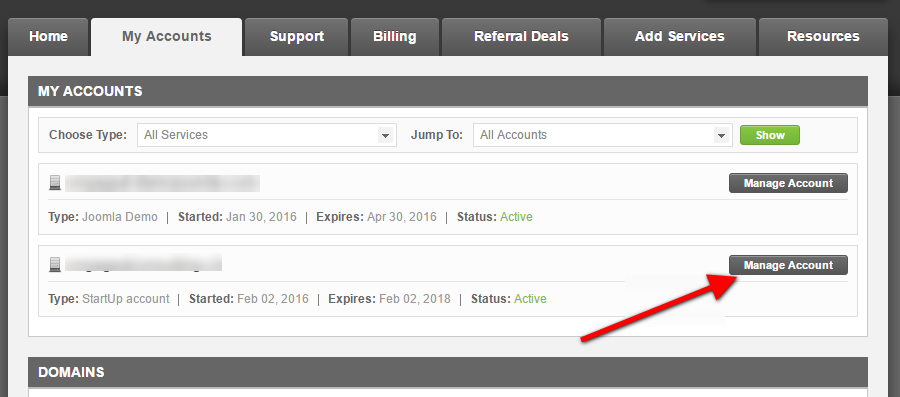
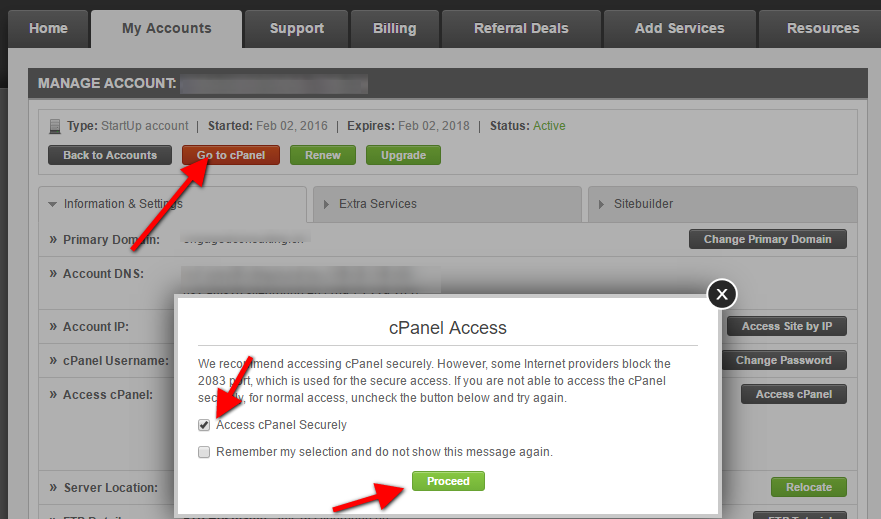
1. Access Siteground and login into your account. Choose your domain then click My Account -> Manage Account

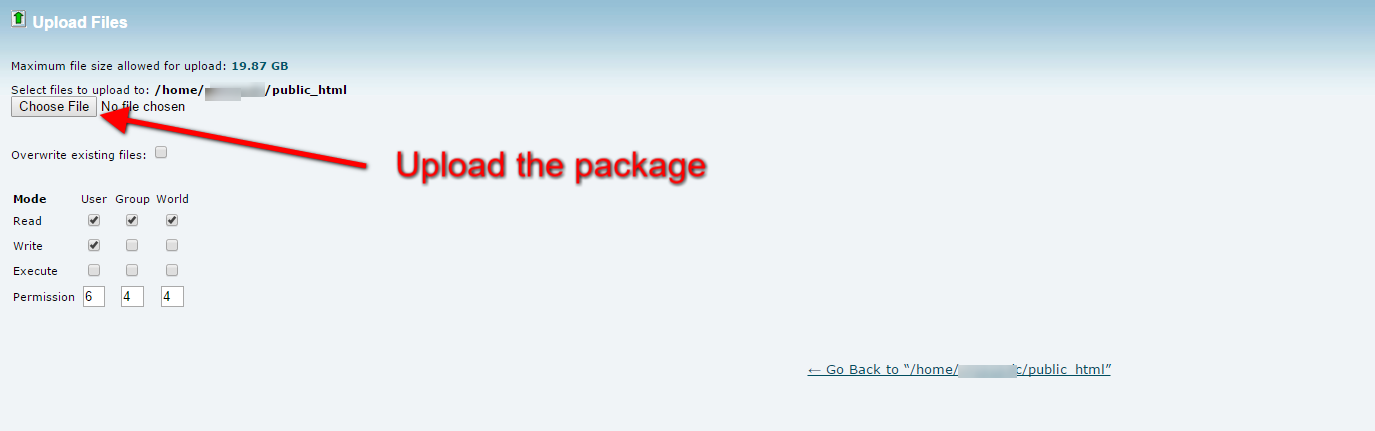
Next upload the package via browser
5. Unzip the NAME_joomla_quickstart_j4.zip package to your web server directory (public_html).
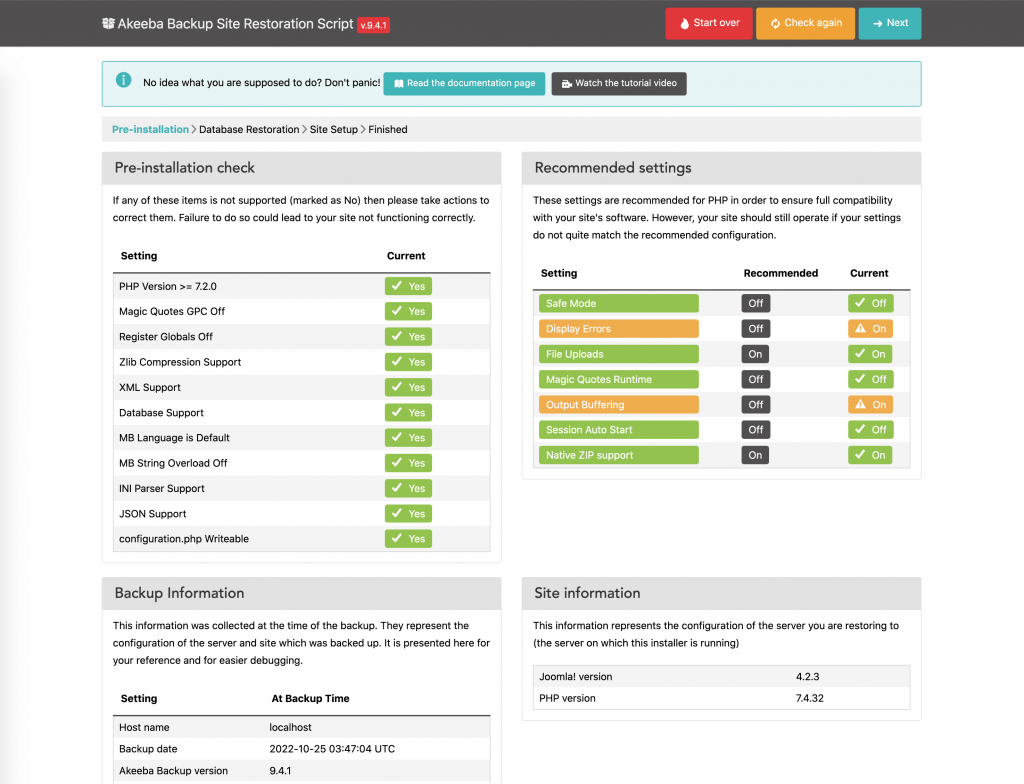
6. Once you’re ready with the preparation, launch the restoration by visiting its URL which looks like http://localhost/mysite on local hosts, or https://www.example.com on live hosts to start the process.
Database for Joomla! Installation
If you need to create a database, please read “Create a database for use with Joomla!“. You will need to note basic database information needed when the actual Joomla! installation is started.
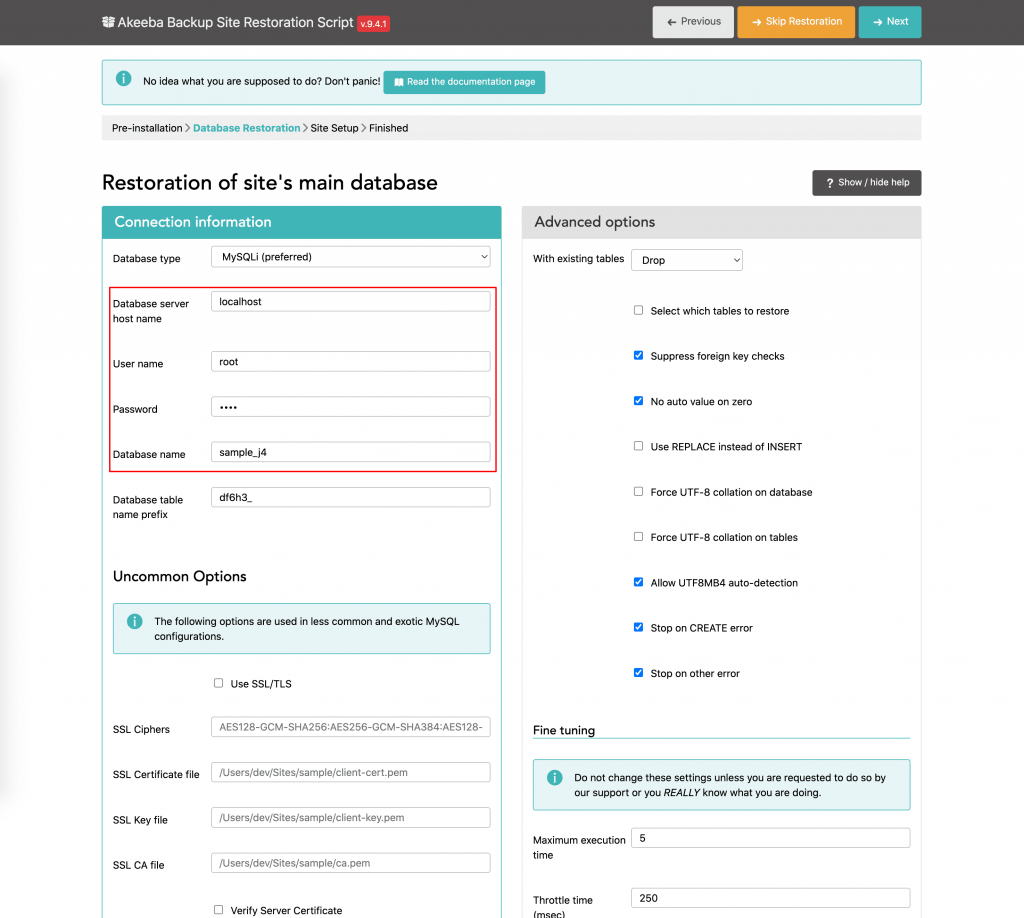
- Database server host name, localhost or a specific host’s server such as
dbserver1.yourhost.com - User name: The database user’s name
- Passworld: The database user’s password
- Database name: The database name
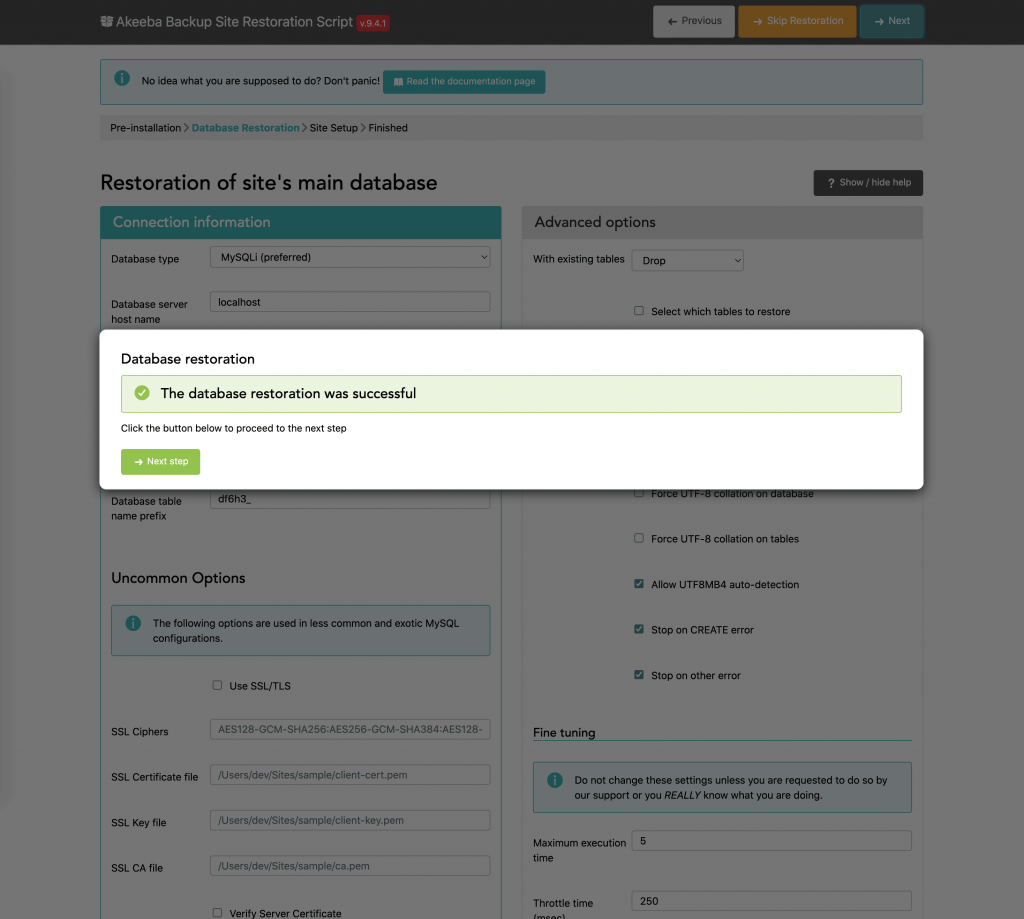
When finished, a successful popup will display this message, click Next Step
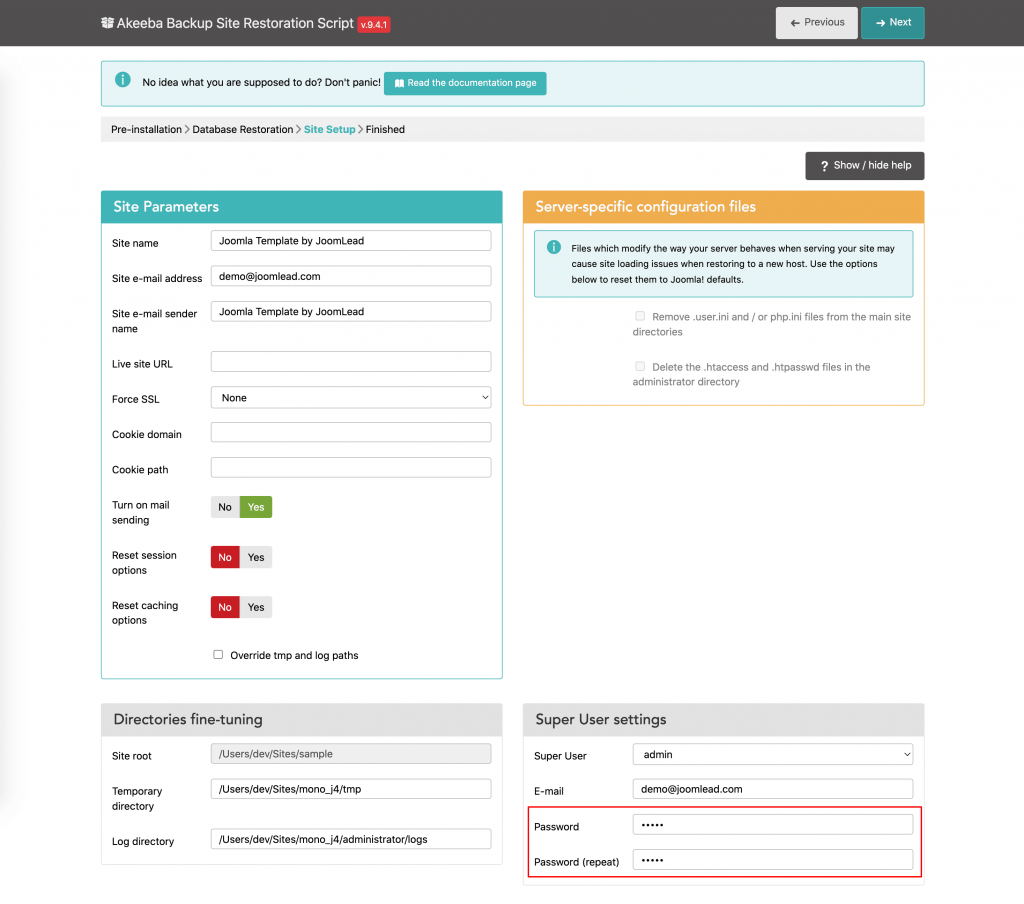
At this step, it is recommended to add the password for Joomla admin user. You can add your password here then click Next.
Note: You can change the Super user username and its email later via Joomla administrator.
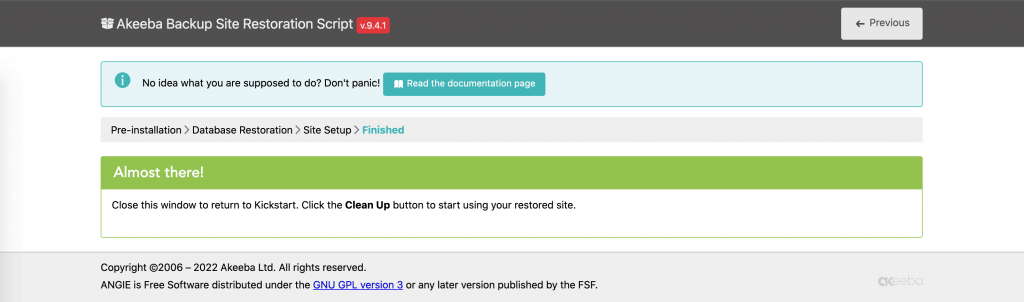
When finished, close the window to return to Kickstart.
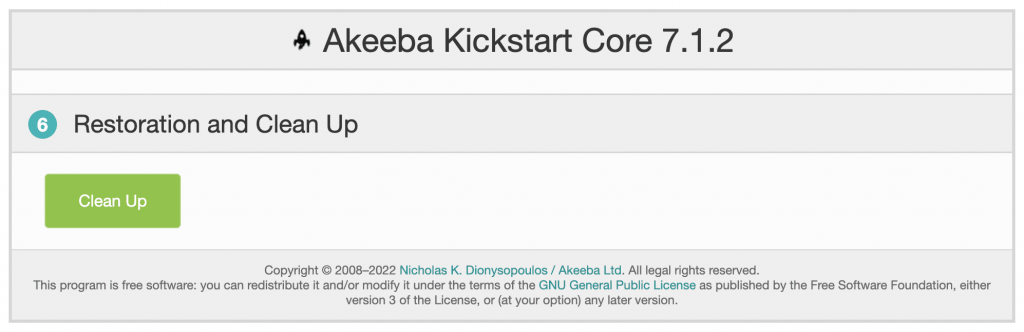
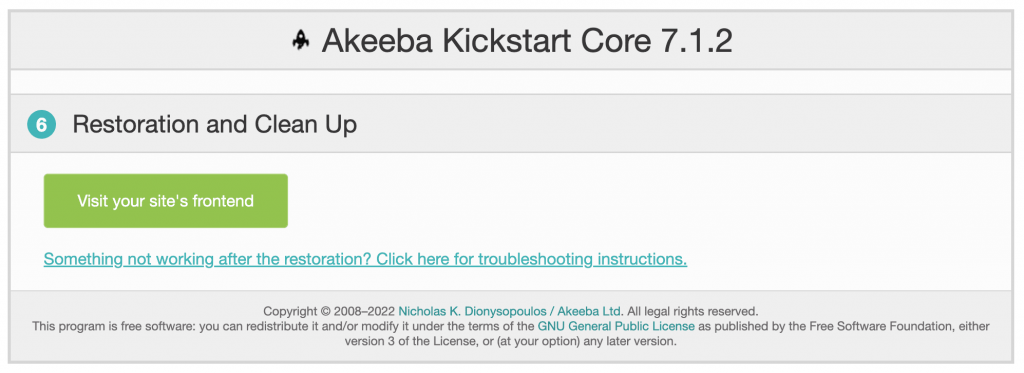
Once you are done with the restoration script, click on the Clean Up button. This will remove the installation directory which holds the restoration script, Kickstart’s files, the backup archive (and all its part files) and rename the file mentioned above back to their normal names.
Installing Quickstart Package from Localhost
For windows user, you can use WarmpServer to create a local server(Apache2, php, mysql and phpmyadmin), for Mac user, you can use MAMP Pro or build your custom web development environment using this tutorial.
1. Download demo quickstart package, simply log into your purchase account, and download the demo quickstart package (NAME_joomla_quickstart_j4.zip). Unzip it and copy files to your webserver directory.
2. Creating new database for Quickstart, example: sample_j4. Please read “Create a database for use with Joomla!“
3. Installing Joomla quickstart package
Access http://localhost/sample/kickstart.php to start the installation process

hi,
good presentation
one question : joomla is in the quickstart or not ?
thanks
Yes it is, at least for me it was. It’s a full Joomla 3.x installation incl. the demo page and db.
Quickstart packages are available for PRO editions only.
Hey there this is kinda of off topic but I was wondering if blogs use WYSIWYG editors or if you have to manually code with HTML. I’m starting a blog soon but have no coding knowledge so I wanted to get advice from someone with experience. Any help would be greatly appreciated!
Hi Mandy,
You can use WYSIWYG editors like tinymce or jce for Joomla blogging.
If you need any helps please submit your questions via ticket system https://joomlead.com/ticket-support/
Where is the file to turn off “error display” ?
After restoring quickstart package successfully i get a white page shown with this content:
#qx-section-313141{ } #qx-row-13400{ } #qx-column-463408{ }
Too few arguments to function Css::padding(), 1 passed in /home/httpd/vhosts/zwinky-nw.ch/httpdocs/templates/jl_finance_pro/quix/elements/number-counter/number-counter/style.php on line 9 and exactly 2 expected
What do i do wrong?
Hi
buy the template v1.0.0 / jl_education_pro but I do not find particicle slide.
Thank
Hi Marco,
Please submit the question to our ticket system.
Thank you
How to use technical support services? I have purchased PRO edition
Dear LEO,
You can submit technical questions via our ticket system https://joomlead.com/ticket-support/
Our supporter will help you solve the issues if any.