Set up the Joomla menu
Set up the Joomla menu
This tutorial shows you how to set up the main menu correctly in your Warp 7 based template.
Create the menu
After installation of the template click on Menus » Menu Manager Menu » Add New Menu in the administration menu on top. Give it a name and click on Save & Close. For more detailed instructions on how to create a menu see the Joomla documentation.
You can now assign menu items to the menu. Click on Menus » YOUR MENU » Add New Menu Item. For additional instructions on how to create a menu item take a look at the Joomla documentation.
Assign the menu as Main Navigation
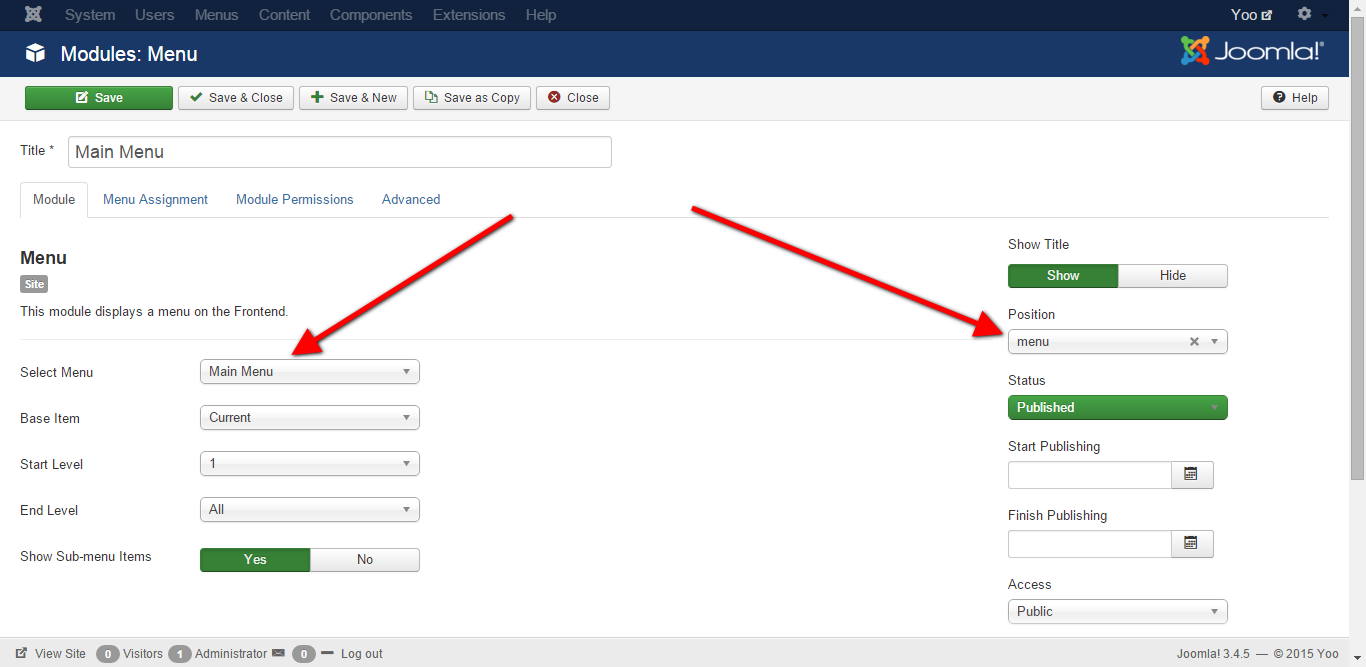
Before the menu works properly in your template, you have to assign it to a menu module published on the menu module position. To achieve this, click on Extensions » Module Manager » New. Choose Menu. Next publish the module on the menu position of the template.
Create Offcanvas Menu for Mobile
Select position offcanvas

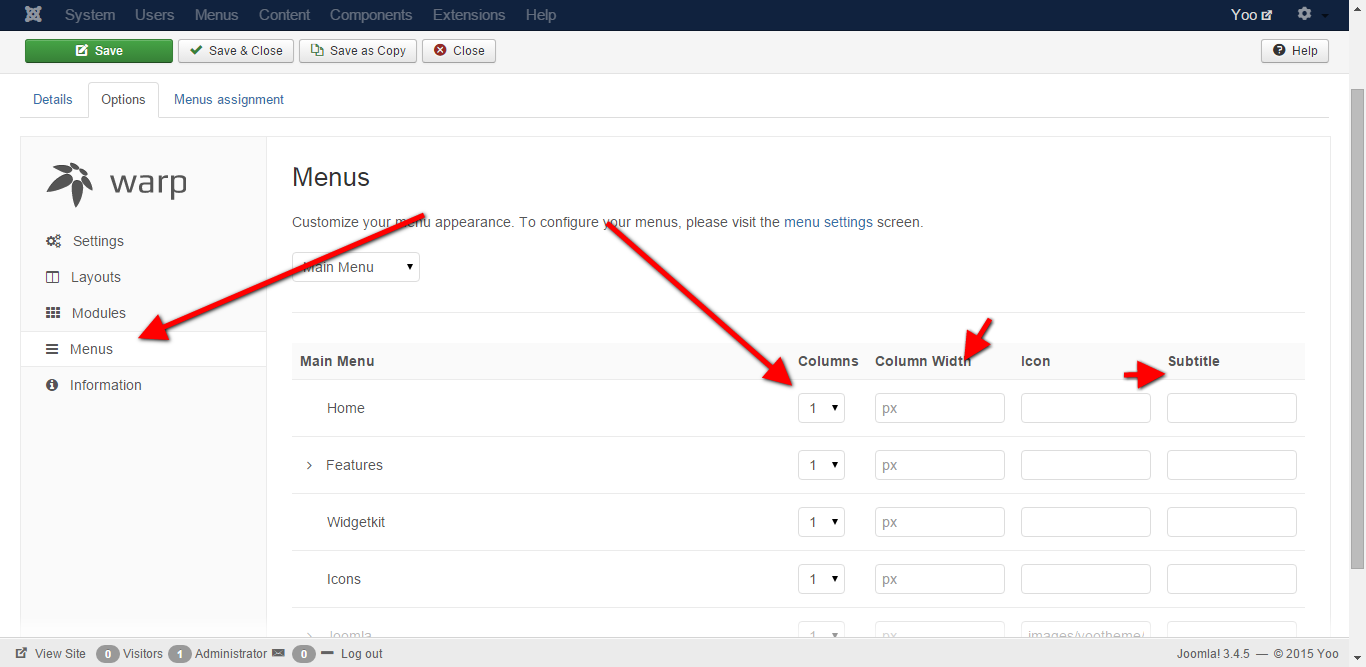
Menu columns
Go to template settings -> tab Options -> Menu, here you can change the menu item columns, width and adding icons

Comments