DotNav Particle Documentation
# Dotnav Package contents
| Files | Description |
|---|---|
| jldotnav.yaml | Contains the Dotnav particle settings. |
| jldotnav.html.twig | The Twig file to pull information, settings. |
Installation Installing the particle on your website is a really simple process. You can refer to the document here to know more.
Requirements Dotnav requires Uikit 3 for Gantry 5 Atom to be installed and enabled in your theme layout settings.
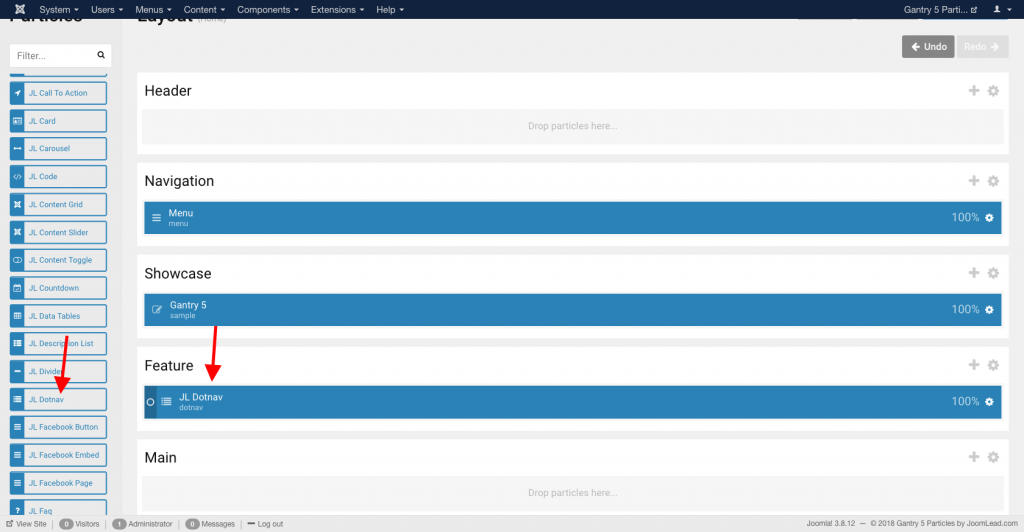
Go to Template/Theme Settings > select the Layout to add DotNav particle (i.e: Home) -> Layout tab -> Drag and drop the DotNav Particle from Particles panel (left corner) to the section you want to display the DotNav.
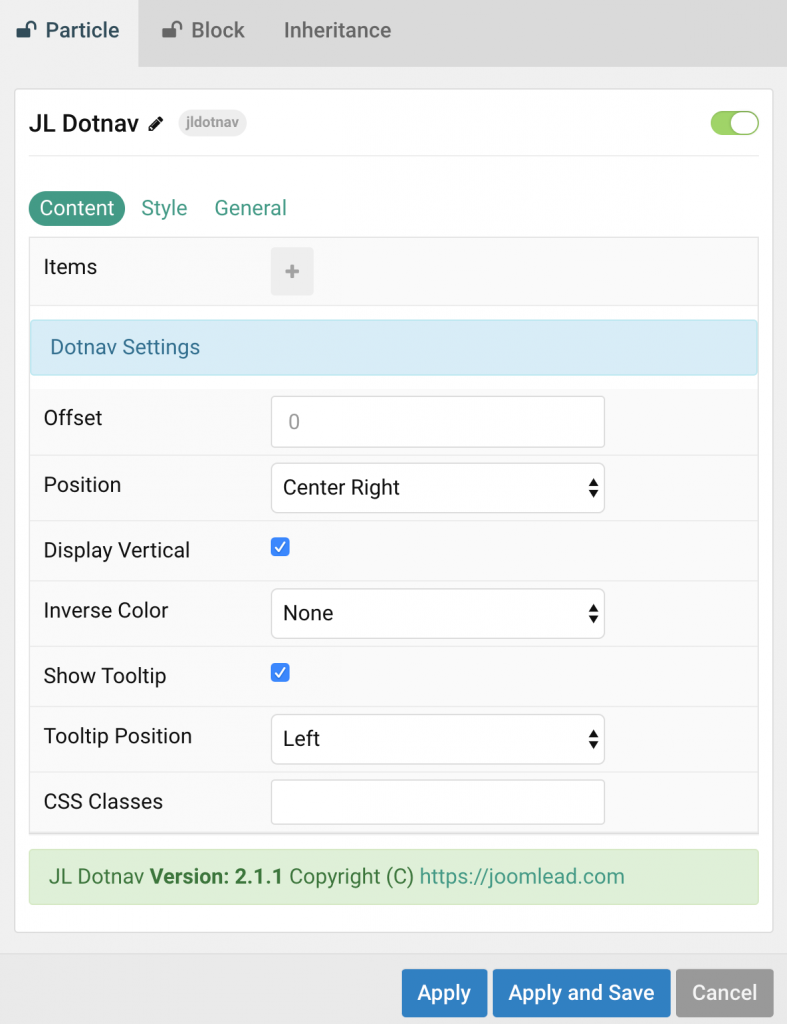
Settings
| Settings | Description |
|---|---|
| Offset | Pixel offset added to scroll top. |
| Position | Select the dotnav position. |
| Display Vertical | Display dotnav in vertical mode. |
| Inverse Color | Select light or dark mode to apply a light or dark color for better visibility. |
| Show Tooltip | Show the title tooltip. |
| Tooltip Position | Choose one of these options to adjust the tooltip’s alignment. |
| CSS Classes | CSS class name for the particle. |
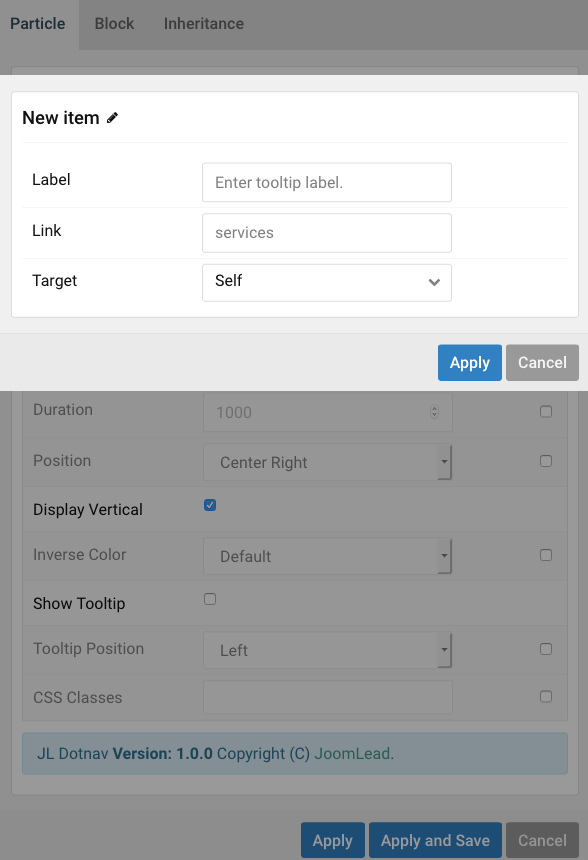
Items Click Items field to enable it, then you can add new items to the collection using the plus + icon
| Settings | Description |
|---|---|
| Label | Add section label to scroll to (for tooltip label). |
| Link | Add section name to scroll, i.e: service |
| Target | Target browser window when item is clicked. |
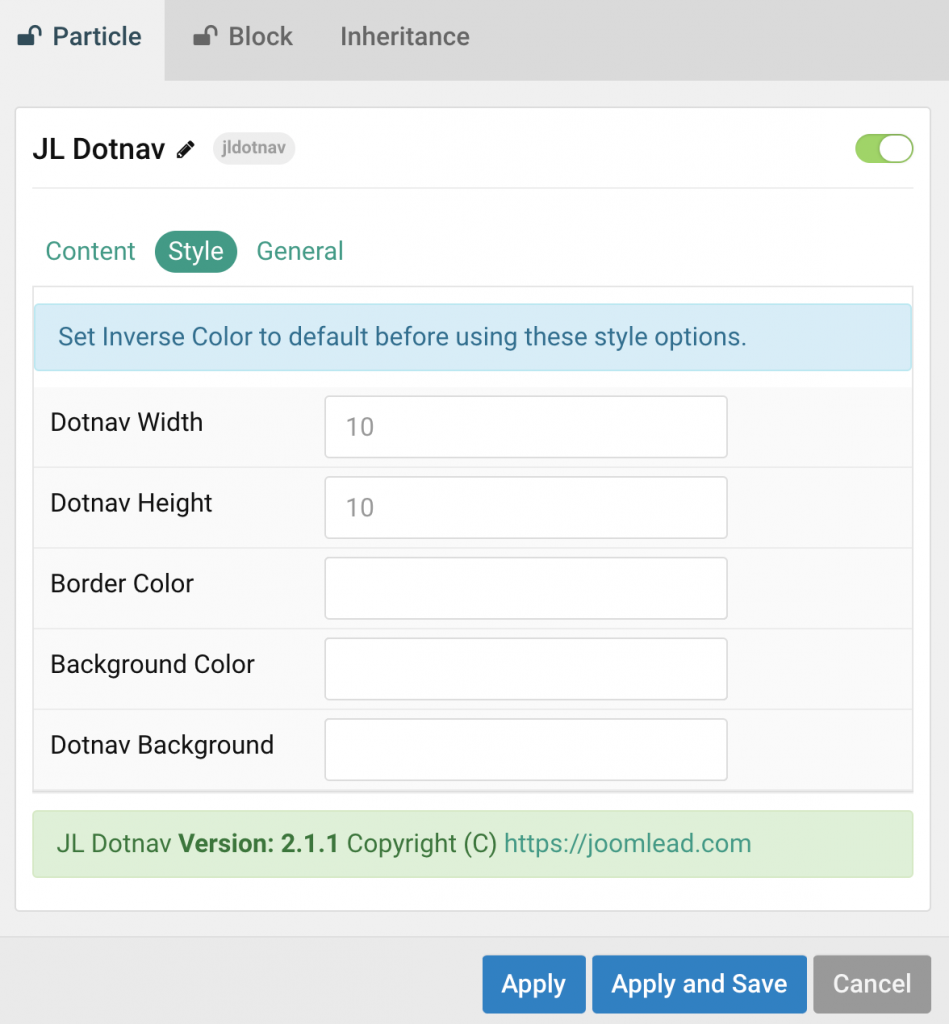
Style Tab
Below is the screenshot that shows how to customize the color for dotnav.
General tab
Please take a look the documentation here for more detail about this tab settings
Comments